
In this module, we are going to explore the following reports in Core:
Note: clicking on the green bullet points will take you straight to that section.
Report 1 – Billings (Payments Received)
To run a report to view payments received, compete the following steps:
Navigation:
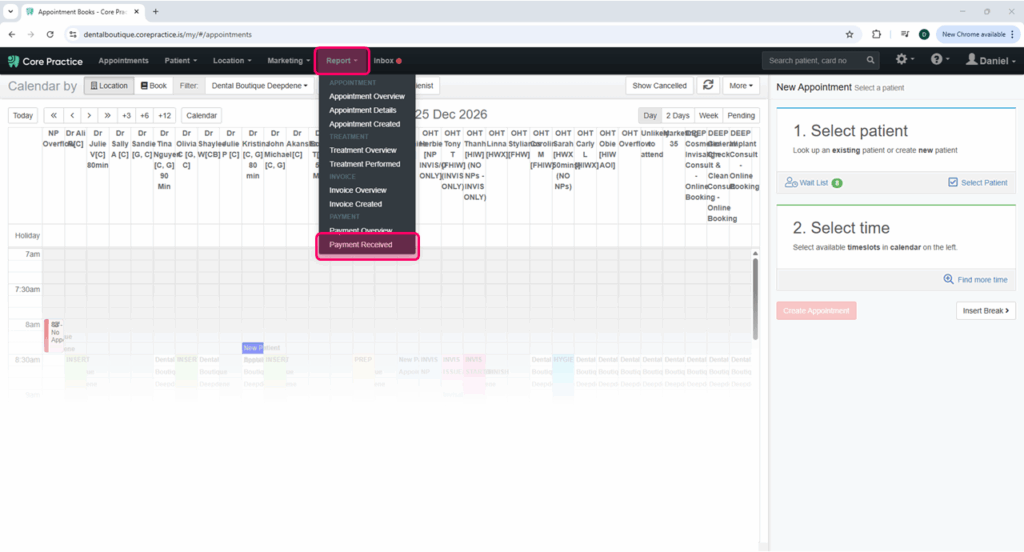
Access the report via Core Practice > Reports (top menu) > Payment Received
Complete the report fields:
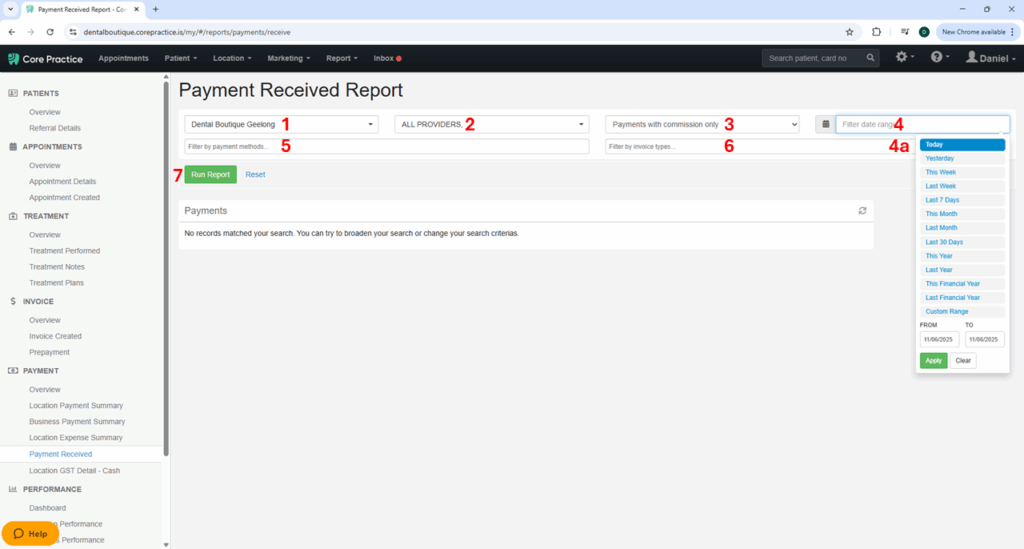
Once the Payment Received Report page loads, complete the following fields in the table below.
(Please note that the red numbers in the image below correspond with the field information in the table)
| Report Field | Field Details / Instructions |
|---|---|
| 1. Select a location… | Choose your clinic from the drop-down list. |
| 2. Select a provider… | The default for this field is ALL PROVIDERS. Leave this as is. Note: You can also create a report for a specific provider by selecting them from the drop-down list. |
| 3. Payment Types | This field has two options. The default is Payments with commission only. Change this to All payments from the drop-down list. |
| 4. Date Range | This field is used to determine the period for the report. You have the choice from a set period, for example, this week, or this month, or you can enter in the “from” and “to” dates for a specific period of time (refer to 4a in the image above). |
| 5. Payment Methods | Leave this field blank. |
| 6. Invoice Type | This field provide 3 options: Credit Note, Invoice, and Prepayment. Click in the field to bring up these options and select Credit Note and Invoice (you will need to select them one at a time). |
| 7. Run Report | Once you have made all the field selections, generate the report by clicking on Run Report. |
| TIP: | If you have a referral system (Akansha Kumar2) then you would need to run the report for Akansha Kumar and then again for Akansha Kumar2, you would need to add these numbers together for the combined total. |
Click here to return to the top of this page
Report 2 – Collections / Prepayments
Navigation:
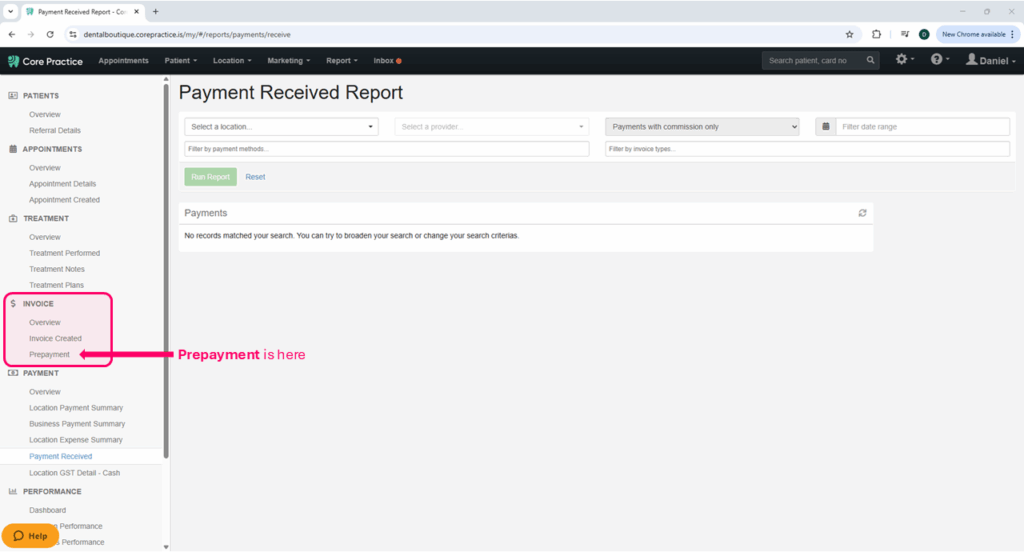
Access the report via Core Practice > Reports (top menu) > Payment Received. When you do this, a new menu will appear on the left-hand side of the screen. Select Prepayment under the Invoice section of the left-hand side menu (refer to image below).
Complete the report fields:
Once the Prepayment Report page loads, complete the following fields in the table below.
(Please note that the red numbers in the image below correspond with the field information in the table)

| Report Field | Field Details / Instructions |
|---|---|
| 1. Select a location… | Choose your clinic from the drop-down list. |
| 2. Select a provider… | The default for this field is ALL PROVIDERS. Leave this as is. Note: You will not be able to create a report for a specific provider – this is done through Hubspot. |
| 3. All or Unallocated | This field has two options – All or Unallocated. Select All. |
| 4. Date Range | This field is used to determine the period for the report. You have the choice from a set period, for example, this week, or this month, or you can enter in the “from” and “to” dates for a specific period of time (refer to 4a in the image above). |
| Note: | You do not need to click on the Run Report button. This report is dynamic and will auto-update results upon entering or changing the parameters above. |
Click here to return to the top of this page
Report 3 – New Patients
Navigation:
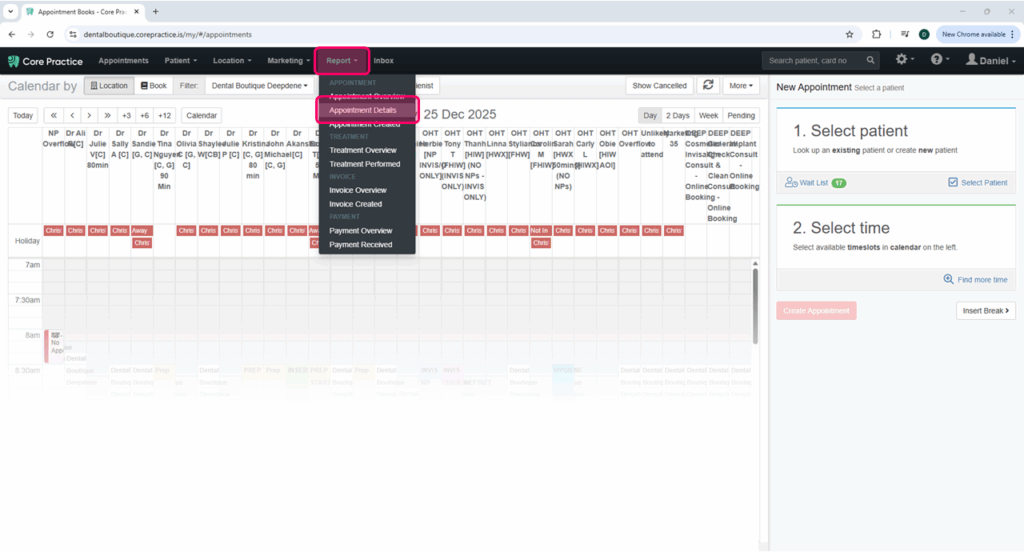
Access the report via Core Practice > Reports (top menu) > Appointment Details.
Complete the report fields:
Once the Appointment Details Report page loads, complete the following fields in the table below.
(Please note that the red numbers in the image below correspond with the field information in the table)

| Report Field | Field Details / Instructions |
|---|---|
| 1. Select a location… | Choose your clinic from the drop-down list. |
| 2. Date Range | This field is used to determine the period for the report. You have the choice from a set period, for example, this week, or this month, or you can enter in the “from” and “to” dates for a specific period of time. |
| 3. Appointment by status | Leave this field blank. |
| 4. Appointment by attendnce | The selections that you make for this field depend on what information you are looking for: – If you are trying to calculate the NPs already seen, you would select Attended. – If you are trying to find how many NPs are due to be seen for the month, you would select Pending and Attended. – If you only want to find out how many NPs are pending, you would only select Pending. |
| 5. Appointment by reason | Select ALL the new patient types (hint: type “new” in this field to help filter the options). |
| 6. Run Report | Once you have made all the field selections, generate the report by clicking on Run Report. |
| Note: | If you were running this report for a specific dentist, you would click on the Calendar tab (instead of the Location tab) on the top of the report request screen. (refer picture below) |

Click here to return to the top of this page
Report 4 – Bad Debts
Navigation:
Access the report via Core Practice > Reports (top menu) > Treatment Performed.

Complete the report fields:
Once the Treatment Performed Report page loads, complete the following fields in the table below.
(Please note that the red numbers in the image below correspond with the field information in the table)

| Report Field | Field Details / Instructions |
|---|---|
| 1. Select a location… | Choose your clinic from the drop-down list. |
| 2. Select a Provider | The default for this field is ALL PROVIDERS. Leave this as is. |
| 3. Date Range | This field is used to determine the period for the report. For this report, you will need to select a range that covers ALL TIME; from the date the clinic opened. |
| 4. Treatment code or name | Leave this field blank. |
| 5. Run Report | Once you have made all the field selections, generate the report by clicking on Run Report. |
| Note: | If you were running this report for a specific dentist, you would click on the Calendar tab (instead of the Location tab) on the top of the report. (refer picture below) |
Export the data to Microsoft Excel:
Once the report generates, click on the Export to Excel icon (refer to image below).

Once the document is up, CTRL + F and type NOT PAID.
This will show you any invoice lines that have not been paid.
You will need to search the patient, and go into their invoices to work out what has happened.
Check payment issues spreadsheet to ensure FOC has recorded the bad debt, if not on there determine why.